 Tanin Rojanapiansatith
e-mail
Tanin Rojanapiansatith
e-mail
Software Engineer at Capital One UK
Tanin Rojanapiansatith
e-mail
Software Engineer at Capital One UK
 Aberystwyth
One of the most interesting demos in WWDC19 was the one about the Voice Control feature. Apple takes accessibility seriously. The iPhone has had accessibility supports since one of its very early models, iPhone 3GS. In this conference, we had some fantastic talks on accessibility. One was from Rob Whitaker, my iOS developer colleague from Capital One UK
Rob made accessibility on iOS even more interesting by showing us how easy it is to make apps with SwiftUI support accessibility. Yes, the first post in this series is all about SwiftUI. And it makes a perfect sense to talk about SwiftUI here because, unlike in UIKit, accessibility support comes out of the box with SwiftUI, not just an add-on.
Before we start, I’d like to mention some numbers Rob shared with us.
If you’re not yet convinced accessibility support is important, here is one of the quotes of a blind person from 36seconds.org voice clip
“I was sad because I felt, ‘here’s another time we’re going to be left out’. Eventually, someone’s going to make a special blindness-specific iDevice. It’ll be three versions old. It’ll cost four times as much, and we’ll just keep buying it, cuz it’s the only option that we have.”
They are as much as big fans of Apple devices as a lot of people are. Despite their conditions, they don’t have to be left behind. We have the power to make our amazing apps accessible by them. And the tools are there. There’s no excuse not to make your apps support accessibility.
With those in mind, let’s dive into the technical bit.
Take a look at this simple UI
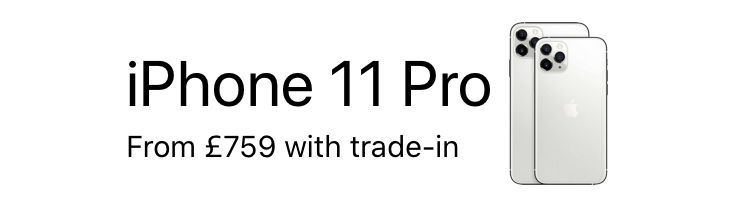
It looks like a horizontal stack with a nested vertical stack for texts. Let’s create this UI in both UIKit and SwiftUI.
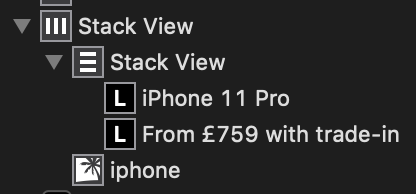
The view outline would look something like the above. And there would be a little work on adjusting font sizes, and stack view spacing in the Interface Builder.
To make this accessibility support, we would also need to enable accessibility of the Image in the Identity inspector and set a label to something like “iPhone 11 Pro”
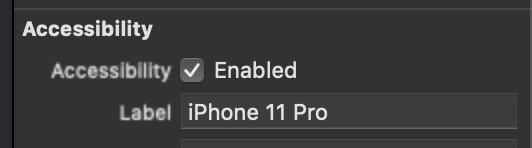
And this UI should be accessibility ready.
var body: some View {
        Group {
            HStack {
                VStack(alignment: .leading) {
                    Text("iPhone 11 Pro").font(.largeTitle)
                    Text("From £759 with trade-in")
                }

                Image("iphone", label: Text("iphone 11 Pro"))
            }
        }
    }
Done! Everything is in one place within just about 10 lines of code. The label setting on the Image is right at its constructor.
What would the accessibility UI sound like? It should go “iPhone 11 Pro” -> “From £759 with trade-in” -> iPhone image, right? It is on the SwiftUI version, but it isn’t on the UIKit version. In the UIKit version, it goes “iPhone 11 Pro” -> iPhone image -> “From £759 with trade-in”. It reads from left to right, top to bottom. But that’s not what it should be in this case. More work is required in UIKit to make the voice-over UI aligns with the visible UI.
SwiftUI makes it so much easier and more intuitive to make your apps support accessibility.
If you want to try it yourself to see how the voice-over behaves, I’ve put both UIKit project and SwiftUI project on GitHub.